
Higger Tor - Peak District Walk
Tuesday 1st February 2011
I had originally planned on doing this walk yesterday but when the fog showed no sign of clearing I didn't bother heading out. Today saw another grey start to the day but by setting off later than usual I was rewarded with blue sky and even a bit of sunshine. A short route that I took at a steady pace as I start to try to regain a decent level of fitness after six months more or less away from the hills and any other form of exercise.
Start: Upper Burbage Bridge (SK 2603 8298)
Route: Upper Burbage Bridge - Burbage Rocks - Carl Wark - Higger Tor - Fiddler's Elbow - Upper Burbage Bridge
Distance: 3.25 miles Ascent: 205 metres Time Taken: 2 hours 35 mins
Terrain: Good paths with a short scramble onto Higger Tor.
Weather: Grey sky turning blue with a steady breeze.
Pub Visited: None Ale Drunk: None
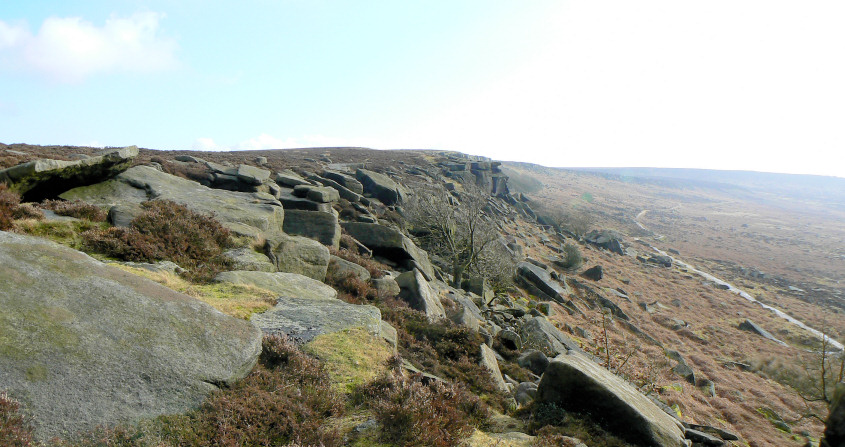
A bit of blue sky and sunshine as I start out along Burbage Rocks.
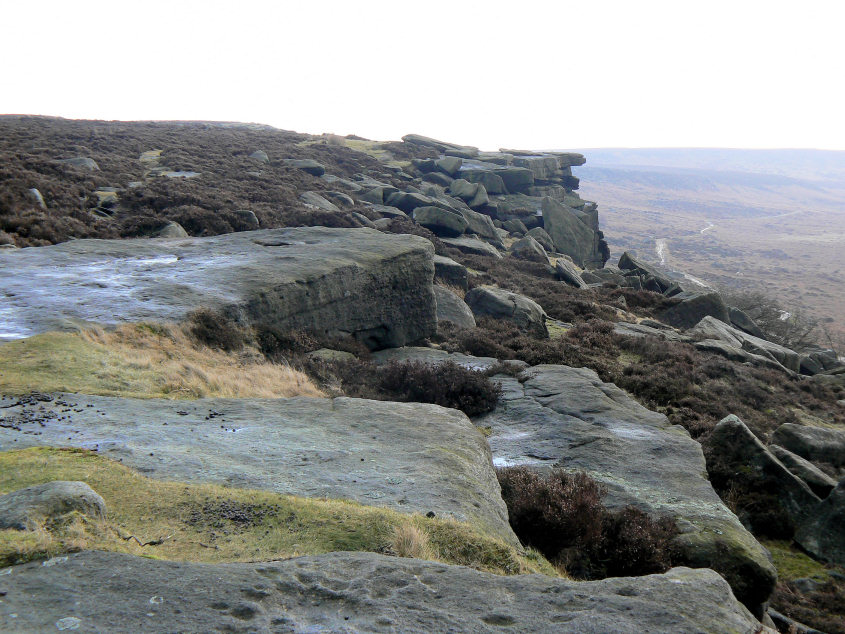
A few minutes later it was gone and it seemed as if it was going to be a grey day after all.
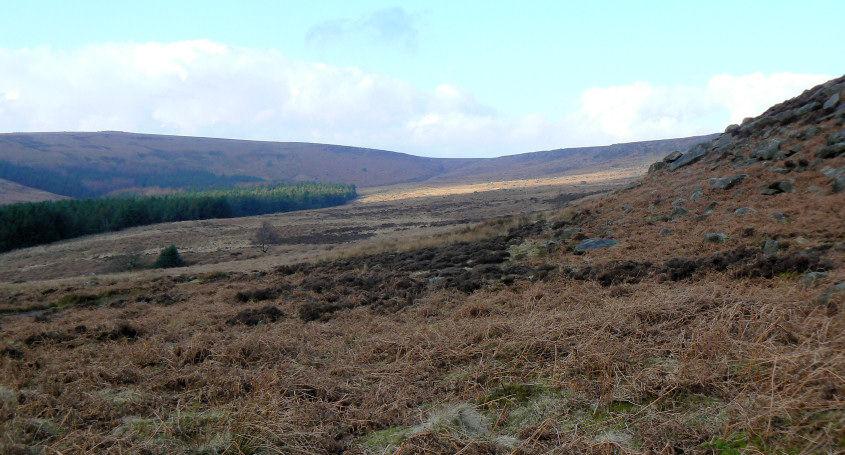
Dropping off Burbage Rocks I spot this shaft of sunshine crossing the valley floor.
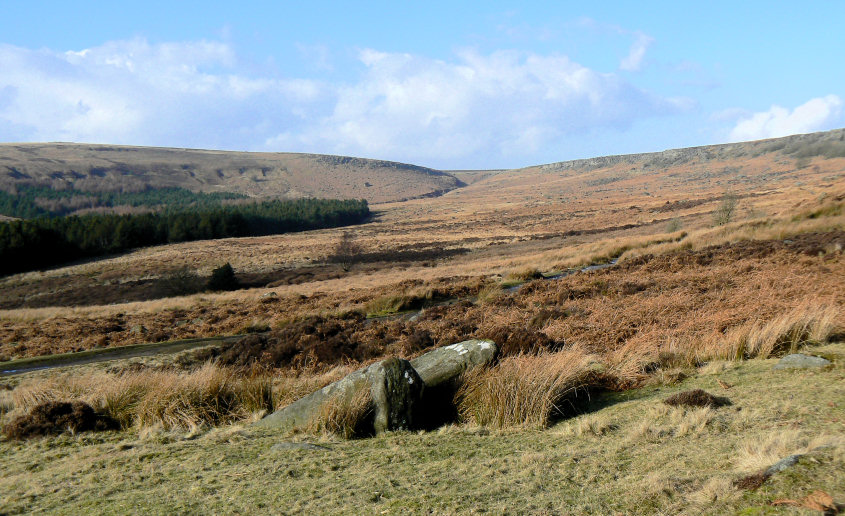
A few minutes later it is all change again and the valley is golden.
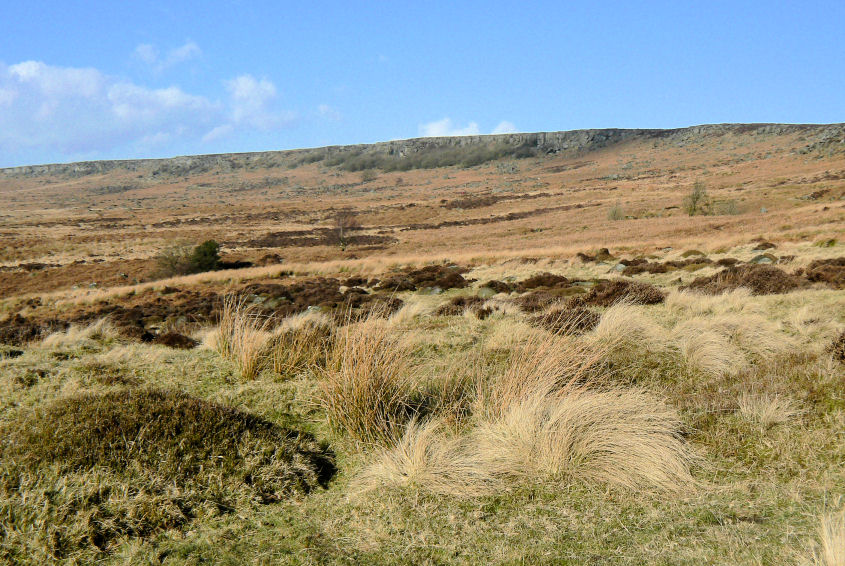
Looking back to Burbage Rocks from the valley floor.
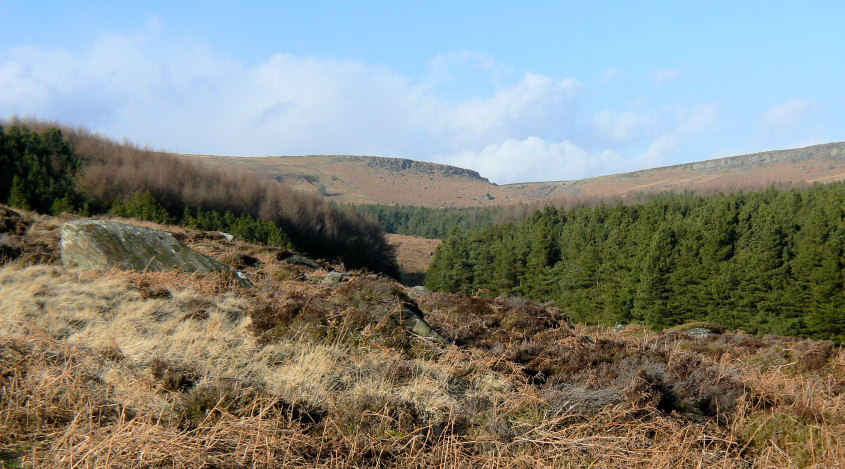
Fiddler's Elbow just after crossing Burbage Brook.
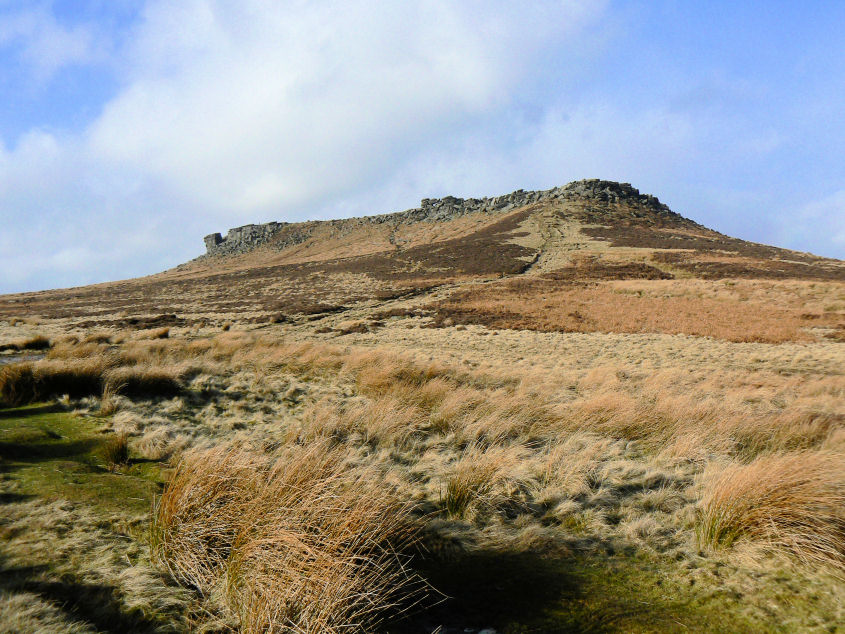
Higger Tor, my eventual destination but first I diverted left.
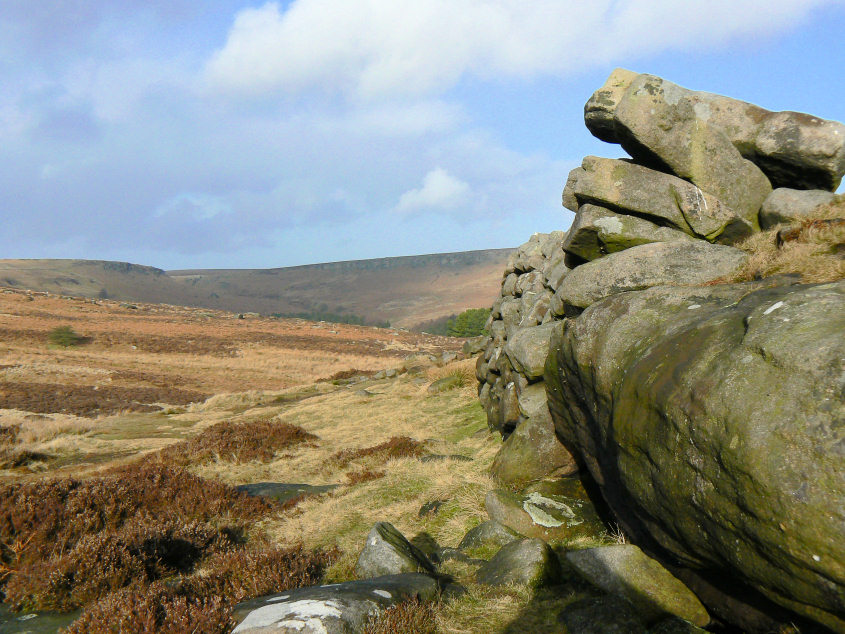
Looking along the front of Carl Wark, towards Burbage Rocks.
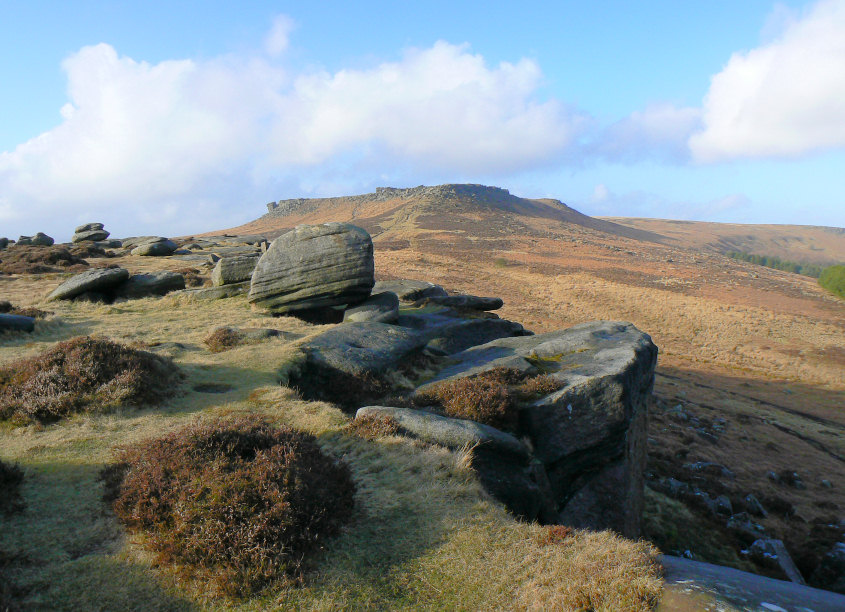
Higger Tor from Carl Wark.
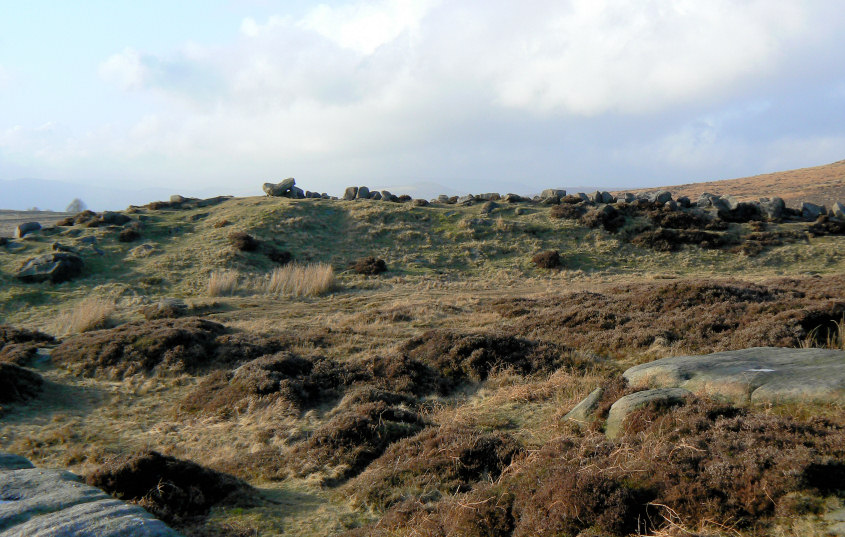
The other side of the wall, from the inside of Carl Wark. Peeping over the top is a faint Lose Hill.
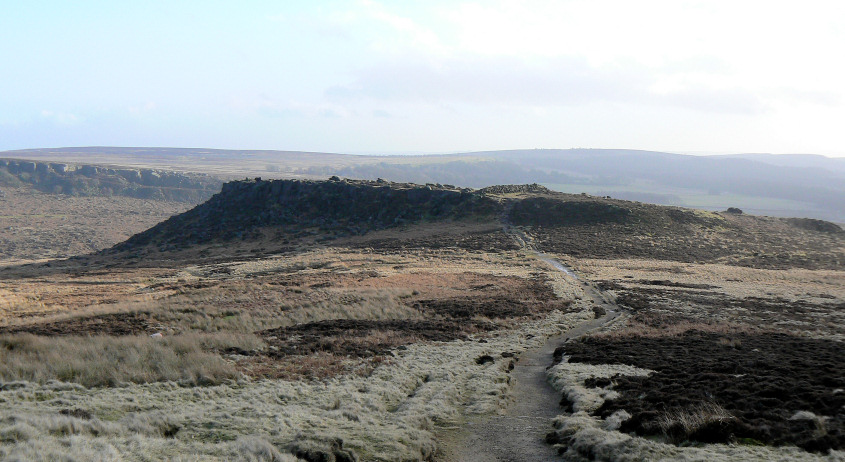
Carl Wark from a stop on the short climb to Higger Tor. I couldn't believe how much this short climb tired me out. I was amazed at just how how unfit I had got in six months, I only hope that getting fit again doesn't take as long.
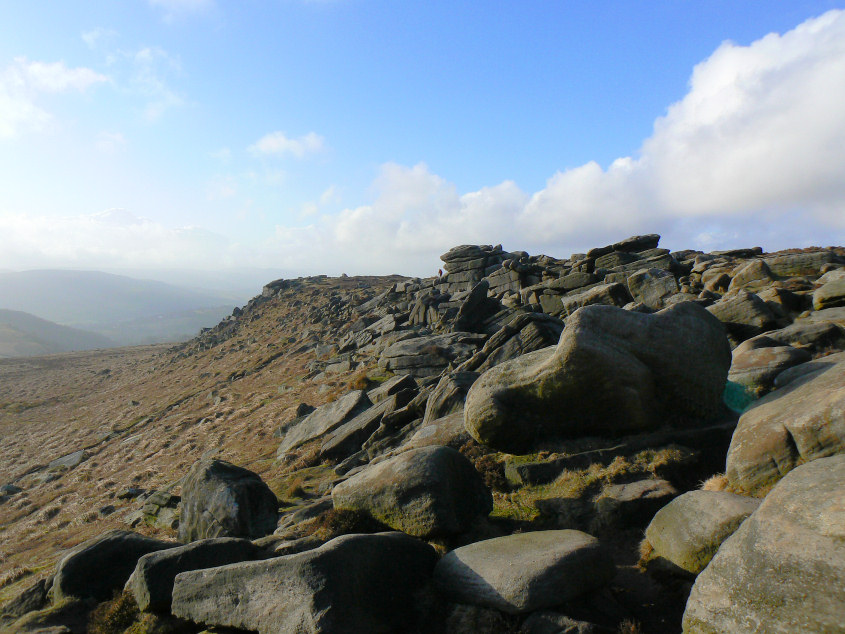
Looking along Higger Tor.
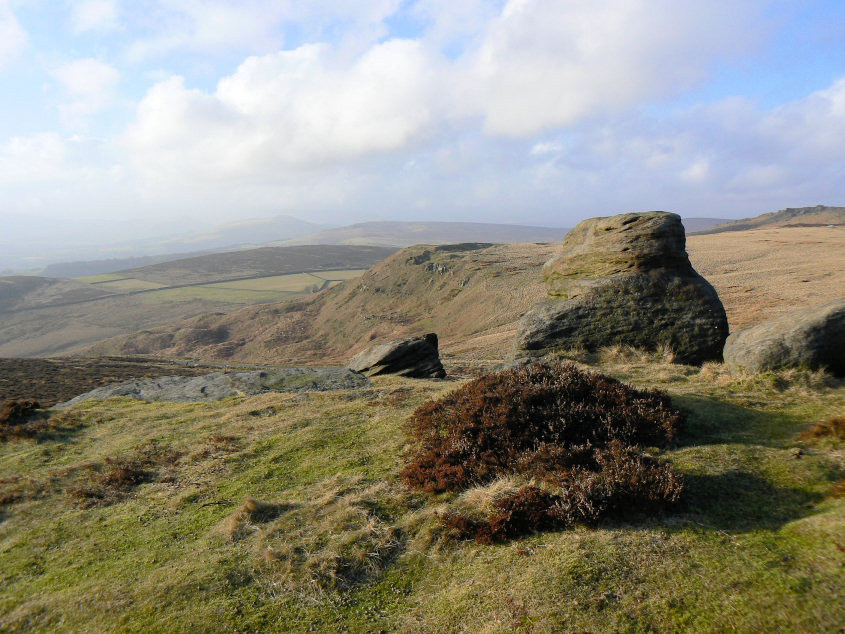
Callow Bank from the edge of Higger Tor.
All pictures copyright © Peak Walker 2006-2023